Table of Contents
Sesame's configuration is specified in the file [SESAME_DIR]/WEB-INF/system.conf. You can edit this configuration file locally on your Sesame server using the Configure Sesame! tool available in [SESAME_DIR]/WEB-INF/bin/. You can start the tool with the command configSesame.bat (on Windows) or configSesame.sh (on UNIX. Note that in UNIX you may have to give the file executable permissions first). Alternatively, you can download Configure Sesame! as a standalone tool from the Sesame project website, and install it on a remote client machine to configure your Sesame server over HTTP.
It is possible to edit the system configuration manually with an XML or text editor, but we do not recommend this.
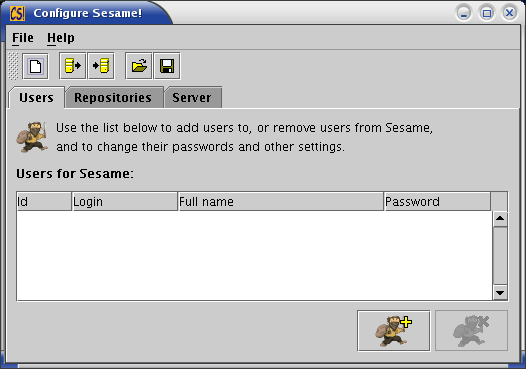
When you have started Configure Sesame! (Figure 3.1, “Configure Sesame!”), load the file system.conf. If you want to configure a running Sesame server, you can do this by loading the file directly from the server (menu option [File]-->[Load from server...], see Figure 3.2, “Loading the configuration from a running server”). If the server is not running, you can open the file from disk (menu option [File]-->[Open file...]).
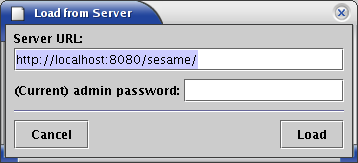
If this is a fresh installation of Sesame, the admin password is still the default password. In this case, you will need to enter "admin" as the Current admin password to load the configuration. If this is not a fresh installation of Sesame you will need to enter the admin password that you have specified earlier.
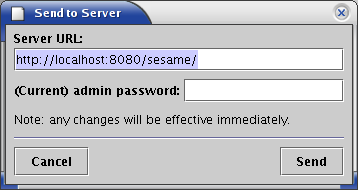
When you have modified the configuration, you can store it on disk (menu option [File]-->[Save file as...]), or you can send it directly to a running Sesame server (menu option [File]-->[Send to server...], see Figure 3.3, “Send a configuration to a running server”). Notice that if you use the "Send to Server" option, the changes to the configuration will be applied to the running server immediately. You do not need to restart or refresh the server separately.
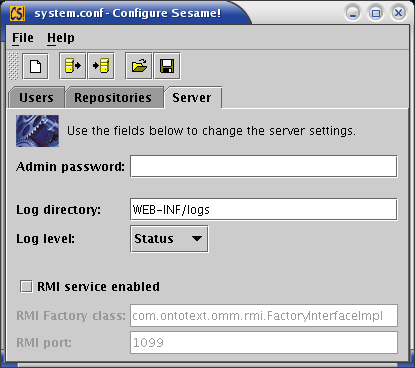
If you have not changed the admin password before, it's probably a good idea to set one right now. To set the admin password, go to the server tab (Figure 3.4, “The Server tab”) and fill in an admin password.
To add a user account to Sesame, perform the following steps:
Open the Tab "Users" (Figure 3.5, “The "Users" configuration tab”). You see an overview of currently configured users.
Click the "Add user" icon on the bottom of the window. A new entry is added to the overview.
Enter the credentials for the new user, hitting Enter to go to the next column.
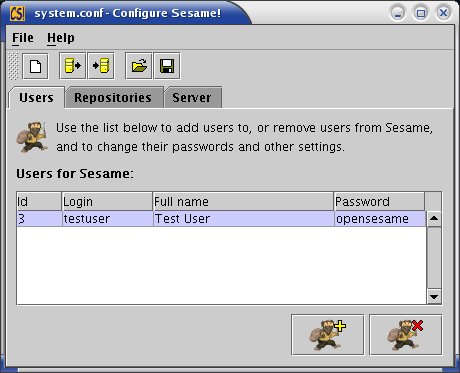
To remove a user account, simply select the user you wish to remove and click the "Remove user" button in the bottom right of the window.
You can configure existing repositories, add new ones and of course remove repository configuration using Configure Sesame!.
In this section, we introduce the basic use of Configure Sesame! In Chapter 4, Advanced repository configuration we go into the details of repository config parameters.
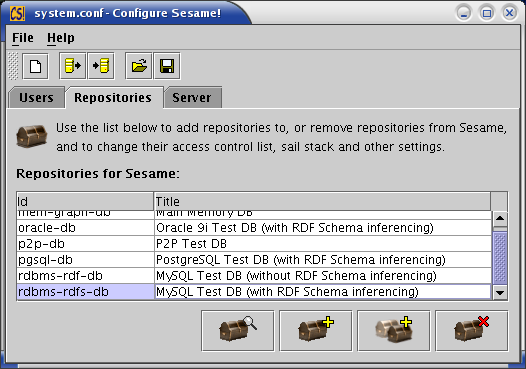
Open the "Repositories" tab (Figure 3.6, “The "Repository" tab”). Select the repository you wish to configure and click the "Repository details" button on the bottom left.
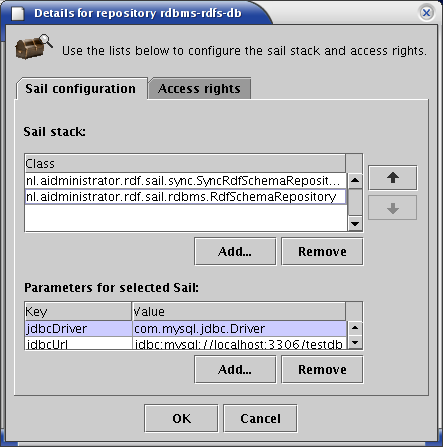
In the Repository details window (Figure 3.7, “The "Repository details" window”), you can edit several parameters of your repository. The top part of the window shows the Sail stack, the bottom part shows the parameters of the selected Sail in the stack. In most cases, you will only want to edit the parameters of the bottom sail in the stack (for more information about the Sail stack and configuration parameter see Chapter 4, Advanced repository configuration).
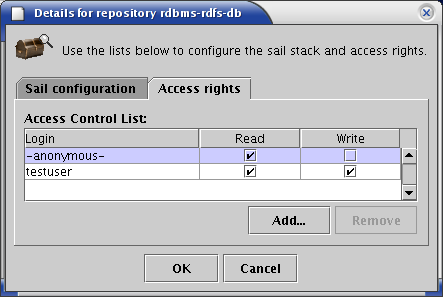
The Repository details window also allows you to change the access rights of users to a repository. To change the access rights, click the "Access rights" tab, where you can edit the rights of existing users or add new users (Figure 3.8, “The "access rights" tab”). The entry anonymous is a special entry that represents users who do not log in. Giving this entry access rights means that anybody can access the repository.
The easiest way to add a new repository is to "clone" an existing repository. Use the "Clone" button on the repository tab (Figure 3.6, “The "Repository" tab”) to do this. This creates a copy of the currently selected repository configuration, which you can then edit. Take special care to change details such as the jdbcUrl or file attributes of the Sail (see Chapter 4, Advanced repository configuration).
Alternatively, you can add a new repository by using the "Add" button and filling in all the information by yourself.
To remove a repository, simply open the repository tab (Figure 3.6, “The "Repository" tab”), select a repository and click the "Remove" button on the bottom right.